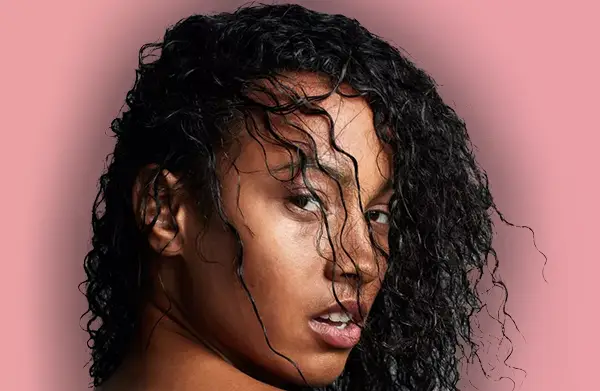
Need to dry your hair quickly? Here is the fastest way to dray hair in 10 easy steps. Although, it can feel challenging, especially if you have thick hair that takes hours to dry naturally. While air drying is the best way to preserve your natural pattern, there are handy steps you can take to make this process quicker also in winter hair dry.
Start by leaving your hair for a few minutes to air dry, then grab a towel or cotton t-shirt to gently squeeze out excess moisture, avoiding any harsh rubbing that could disrupt your hair’s natural texture. If your busy lives mean you can’t wait, consider using a heat protectant before reaching for a hair dryer.
Opt for a low to medium heat setting to prevent damage while drying your hair quickly. You might also want to invest in a high-quality hair dryer or a diffuser with multiple settings, which will truly work wonders for speeding up your drying time.
Remember to section your hair to give each part the attention it needs, ensuring you avoid any clumping together that can slow down the drying process.
Lastly, finishing with a cool shot of air from the dryer will help set your style and give your hair an extra shine. On those days when you need your routine to match your schedule, these steps will help you achieve dry, manageable hair without compromising your care regimen.
10 Easy Steps to Dry Hair in Fastest Way!

Step 1: Squeeze Out Excess Water
To start the fastest way to dry hair, you’ll want to focus on squeezing out excess water. After stepping out of the shower, use the praying hands method to gently squeeze water from your hair. First, place your hands together in a prayer position with a section of hair in the centre.
Starting at the top of your head, glide your hands down to help remove any remaining moisture. This method not only helps to eliminate excess water but also protects your hair from damage, making it a simple yet effective step to kickstart your drying routine. By ensuring your hair is mostly dry before moving on to other methods, you set yourself up for quicker results later.
Step 2: Stay Out of Humid Environments
If you want to dry your hair fast, it’s important to stay out of humid environments. While it may be tempting to do your makeup in the bathroom, this can actually prolong your drying time. Instead, opt for a well-ventilated area or position yourself near an open window.
This will support your hair in drying faster by allowing the moisture to escape. I’ve found that simply moving to a cooler, drier space makes a big difference, helping me achieve quick results without the hassle. So, remember to choose your surroundings wisely for the best outcome.
Step 3: Towel Dry

To effectively towel dry your hair, consider switching to a microfibre towel or a cotton t-shirt instead of using a traditional towel. These options are gentler on your hair and absorb water better. Use a gentle technique by gently plopping your hair in an upward motion to remove excess moisture without causing friction.
This method not only helps keep your hair’s natural pattern but also works to prevent frizzing. Remember that your follicles are vulnerable when your hair is wet, so it’s important to be kind to your strands and use soft motions. This small change in your routine can make a big difference in how your hair dries!
Step 4: Absorbent Hair Wrap
Use an absorbent hair wrap can be a great option. After towel drying, you can use the wrap to soak up any additional moisture from your hair. This helps reduce the time it takes to dry your hair with a hair dryer or even when leaving it to air dry.
I’ve found that this method not only cuts down on drying times but also keeps my hair from getting too frizzy. It’s a simple step that really makes a difference, ensuring my hair is ready to style in no time!
Step 5: Choose the Right Hair Product
Selecting the right products can work wonders for your drying time. Using leave-in conditioners or hydrating sprays can be particularly beneficial because they contain ingredients that help lock in nutrients while facilitating water evaporation.
After you towel dry your hair, make sure to apply these products evenly throughout your strands. I’ve noticed that when I use the right products, my hair dries much quicker and feels healthier too. This simple step can truly transform your hair drying routine!
Step 6: Apply Heat Protectant
To further enhance the fastest way to dry hair, consider using a heat protectant. This step not only helps speed up your drying time but also works to protect your hair from damage caused by styling tools. After towel drying your hair, spray the heat protectant evenly throughout your strands before you move on to the next step.
You can apply it instead of or in addition to a leave-in conditioner for dual protection. This method gives your hair an extra moisture boost and ensures it stays shielded while exposing it to heat. I’ve found that using a heat protectant makes my hair look healthier and feel softer after styling.
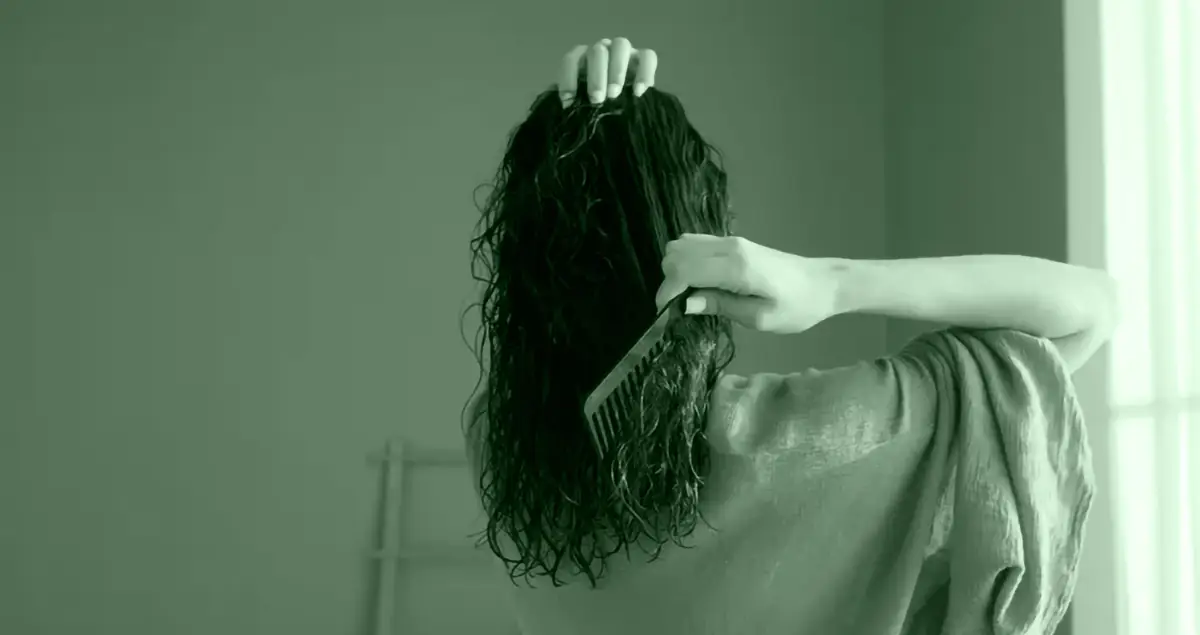
Step 7: Use a Wide-Tooth Comb
After applying your leave-in conditioner and heat protectant, it’s time to use a wide-toothed comb. This tool is perfect for detangling your hair, and you should start at the tips and work your way up to the roots. This method will help separate any strands that are clumping together and allows for quicker drying.
Using a wide-toothed comb also protects your hair from breakage because it causes the least amount of friction. I’ve noticed that this simple step not only speeds up drying but also keeps my hair looking healthy and smooth.
Step 8: Divide and Conquer
To really speed up the drying process, it’s helpful to divide your hair into sections. Start by using a claw clip or coiled tie to begin separating your hair into smaller parts. This way, you can give each section equal attention and ensure that they dry faster.
It’s important to avoid traditional ties since they can pull on your hair and cause unnecessary breakage. I’ve found that sectioning my hair not only helps it dry quicker but also makes styling much easier afterward.
Step 9: Use a Hair Dryer or Diffuser
Invest in a high-quality hair dryer or diffuser as it can do wonders. Start by using a low heat setting after applying your heat protectant. This helps to prevent damage while you dry. As you work through each section of your hair, you can gradually increase the temperature as needed.
Make sure to dry each section evenly before moving on to the next one to ensure that you don’t overheat any part. I’ve noticed that this method not only saves time but also keeps my hair looking healthier.
Step 10: Finish with a Cool Shot
After you have dried your hair with a dryer on low to medium heat, finishing with a cool shot is the cherry on top of your quick-drying routine. Once you’ve worked through each section, change the setting to cold and give your hair a blast of cool air.
Using your hands, gently move your hair around to ensure even distribution of the cold air. This step will help to set your desired hairstyle, close the hair cuticle, and add extra shine. I always find that this final touch makes my hair look fresher and more polished.
What is the fastest way to dry nail polish?


2 thoughts on “Fastest Way to Dry Hair in 10 Easy Steps”