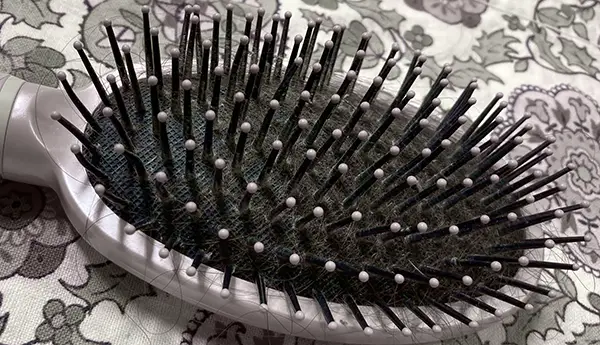
Your scalp is constantly at work; it sheds, secretes, and produces tiny flakes as part of its natural regeneration. These dispelled bits can build up in your hairbrush, turning something essential into a mix of the amazing and the disgusting. It’s crucial to clean your brush regularly, but many overlook this important step in their hair care.
For some helpful insight on properly tending to your brush, we consulted a trichologist, a true expert on skin and hair, along with a few seasoned hairstylists who clean dozens of brushes every week. Regular cleaning not only helps your brush last longer but also keeps your hair looking its best. Why hair texture changes with age?
What’s That Dusty Stuff in My Brush?
It’s a little gross, but the stuff in your brush isn’t just dust; it includes dead skin cells, scalp oil, and even broken hair clumps mixed with product residue. Over time, this can create a breeding ground for bacteria and fungus to grow, which is why you need to understand the material inside your brush.
According to trichologist William Gaunitz, the founder of Advanced Trichology, this lingering material can cause flare-ups, especially for those with a scalp condition like dandruff or seborrheic dermatitis. This is why cleaning your brush is crucial for maintaining healthy hair and scalp.
How often do I need to clean my brush?

How often you need to clean your brush can vary. It really depends on how much hair you shed and what products you use. In general, aim for washing your brush at least every two weeks. You can tell if your brush needs a bath by looking for visible gunk or if it looks dusty. If you see these signs, it’s time to clean your brush to keep your hair healthy and fresh.
What tools do I need?
Nothing fancy! Just these items:
To clean your brush, you will need a few simple tools.
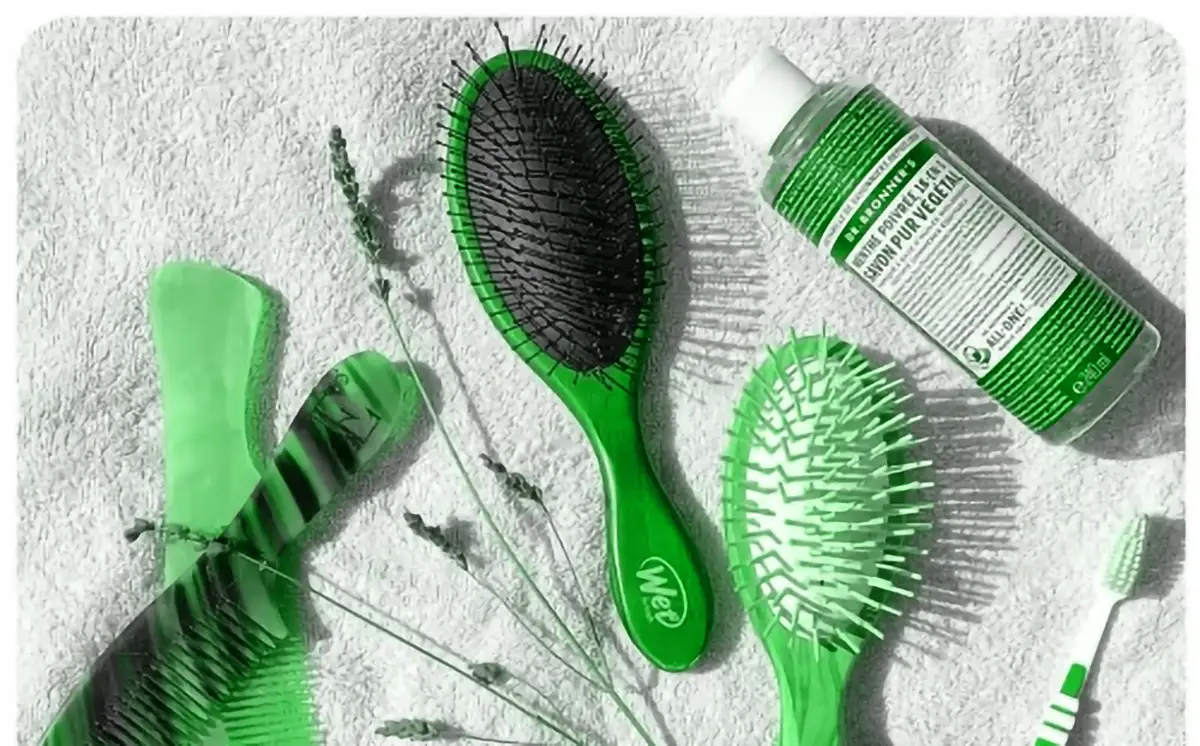
- Start with liquid soap—any soap will work, like dish soap, shampoo, or body wash for synthetic brushes.
- If your brush is made from natural materials such as boar bristle or wood, choose a mild shampoo that is free of sulfates, like those from GM, Reverie, or Davines.
- You will also need a large bowl or stoppable sink to mix your cleaning solution, a towel to dry your brush afterward, and an old towel to catch any drips.
- For some extra help, you can use a toothbrush (that you won’t put in your mouth) to scrub away stubborn gunk, or optional tools like a pointy-ended comb, pen, or even chopsticks to dig out any trapped bristle debris.
- You can also use hair blower for removing dust!
Remove the hair
Video: Dorie Chevlen
To remove hair from your brush, start by using your fingers to yank out any strands that are wrapped around the bristles. If you find the hair is stuck and particularly dense or resistant, you might need to help the removal process by cutting through it with scissors.
A pointy comb can also be handy; Katharine Boss, a hairstylist and owner of the Freija Collective salon in Los Angeles, recommends it for getting hair out of tight spots. Alternatively, you can use chopsticks, a pen, or any pointy object to dig out larger clumps of hair, which will make it easier to get rid of smaller, stuck-on parts.
Getting into the habit of removing hair from your brush after each use can help prevent it from getting clogged. This is important because a clogged brush can damage your mane and create more resistance while brushing, leading to breakage and shedding, as Gaunitz has warned.
Soak the brush
Video: Dorie Chevlen
To soak your brush, fill a bowl or sink with warm water and add some soap to create a sudsy solution. For synthetic brushes, almost any soap will work, including dish soap, shampoo, or body wash since these plastic and rubber materials are quite tough.
For natural materials like wood or boar bristles, Boss suggests using a mild shampoo that is free of sulfates, like those from GM, Reverie, or Davines, to avoid damaging the bristles. If you have a synthetic brush, make sure the bristles are submerged in the soapy water and let it soak for about 10 minutes to help break down stubborn clumps.
For a wooden hairbrush, don’t soak it; instead, quickly dip the brush, bristles-side down, in the water. Then, use a toothbrush to scrub between the bristles and the brush pad, as Sunny Moon, a stylist from Harbor Salon in Los Angeles, recommends.
Scrub and pick
After you soak your brush, the yucky bits should be much easier to remove. Use a toothbrush or your fingers to scrub between the bristles and along the base of the brush. If you find that the gunk is still sticking, you can dunk the brush in the water as needed.
For those clingy spots, use your fingers to slide along the individual bristles to lift off any remaining dirt. This method will make sure your brush is clean and ready for use, so you can enjoy smooth, tangle-free hair every time you style it.
Rinse and dry
After you have completed the visceral horror of removing all that human detritus, it’s time to rinse your brush under running water to get rid of any soapy residue that might be left. Remember, whatever’s left on the brush goes back on your head, so make sure to rinse it well.
Then, squeeze the wet brush repeatedly to get out any water that may have entered the cushioned part, as you want to avoid trapped water that could cause bacteria to grow. As Boss suggests, don’t worry if there’s some lingering moisture; anything you can’t squeeze out will evaporate. Finally, let the brush rest on a towel, bristle-side down, so it can dry properly.


1 thought on “How to Clean Your Hairbrush”